Teaching Tools for Science, Technology, Engineering and Math (STEM) Education
Student Sensemaking | Meal
This unit is part of Dig Into Science learning modules, part of the ACESSE project. Dig into Science is designed to introduce teachers, paraprofessionals, principals, or anyone else to current science education, often called “three dimensional” science education.
Meal (30-60 minute learning experience)
Ready to dig into sensemaking? Excellent, you have come to the right place! Below you will find a ton of resources to help you create sensemaking experiences for your students. Be sure to also check out our “Bite” and “Snack” sections as well, as not all resources are repeated here.
Sensemaking Overview
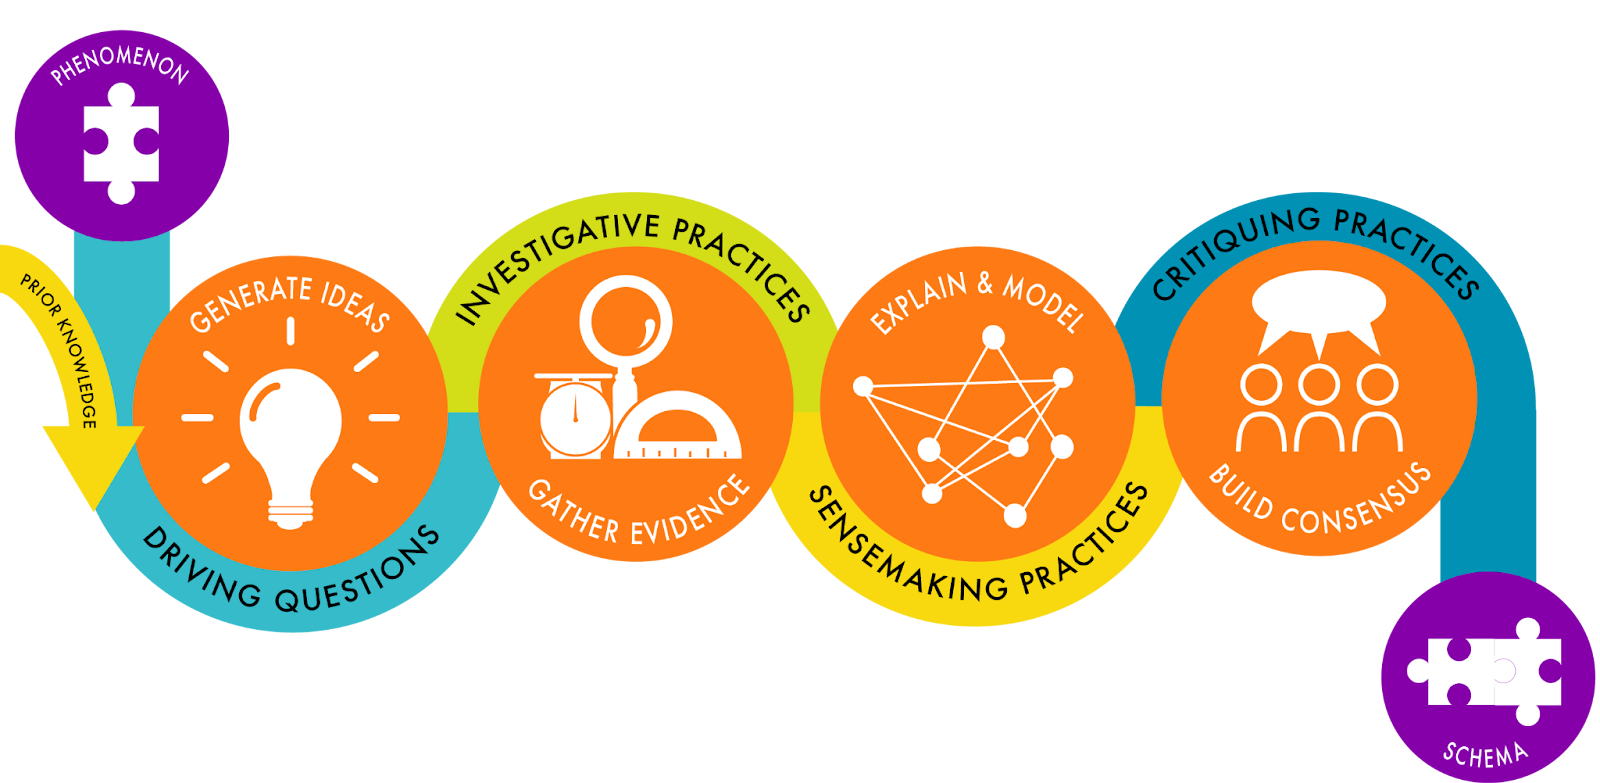
Sensemaking is the process that students go through to make sense of their world. Through this process students access prior knowledge, generate initial ideas, gather evidence, explain and/or model their ideas and build consensus with the class. In the end students create new schema that help students to understand future phenomena they encounter.
Sensemaking starts with a phenomenon that is engaging, complex, not easy to explain, and ideally has more than one possible explanation.
Before experiencing the phenomenon, if possible, students record any observations and make predictions based on those observations and prior knowledge and lived experiences.
After experiencing the phenomenon, students try to explain what they saw and what they think is going on. As many ideas as possible should be shared during this time. The goal is that every student gets a chance to share their thinking. One strategy is the Discussion Diamond Board. This can be done on poster paper, or on large whiteboards. Each student gets a corner to write out any initial ideas they have. Each group member shares their ideas, then the group makes a consensus model. This model can then be shared with the whole class.
These talk moves take time. It will be messy at first, and that is okay! It is important to give students access to talk structures that will facilitate these discussions. It is also important to keep your questions open-ended and curious.
In step 2 of sensemaking, students engage in practices that allow them to gather evidence to help explain the anchoring phenomenon.
There are many ways to gather evidence. One possibility is that students generated testable questions in Step 1. Students then could be allowed to plan and carry out investigations that they see as potentially helpful. In the melting block example, students might want to test different materials to see if there are properties of different substances that might help explain why one block melted the ice cube faster than the other.
Another possibility is to provide students with an activity or lab that generates additional data. For example, with the melting blocks, you can attach thermometers to the blocks and re-run the experience. Students collect data and use this evidence to reanalyze theories from Part 1. This video is running at 5x speed.
The point is not to tell students the “right” answer, it is to have them collect the data and make meaning for themselves. With the new temperature data, students will see that the blocks were in fact the same temperature at the start. Why then did one “feel” colder? Students should also notice how quickly the heavier block dropped in temperature. For some reason, the heavier block “gave up” its heat to the ice cubes easier. This will inevitably lead to more questions about how heat travels through materials…Which can lead to more investigations and more evidence.
All activities are tied to the anchoring phenomenon. All Labs and activities should help to understand the initial phenomenon. This should be made explicit, you will ask “Does this help us understand why one ice cube melted faster?”
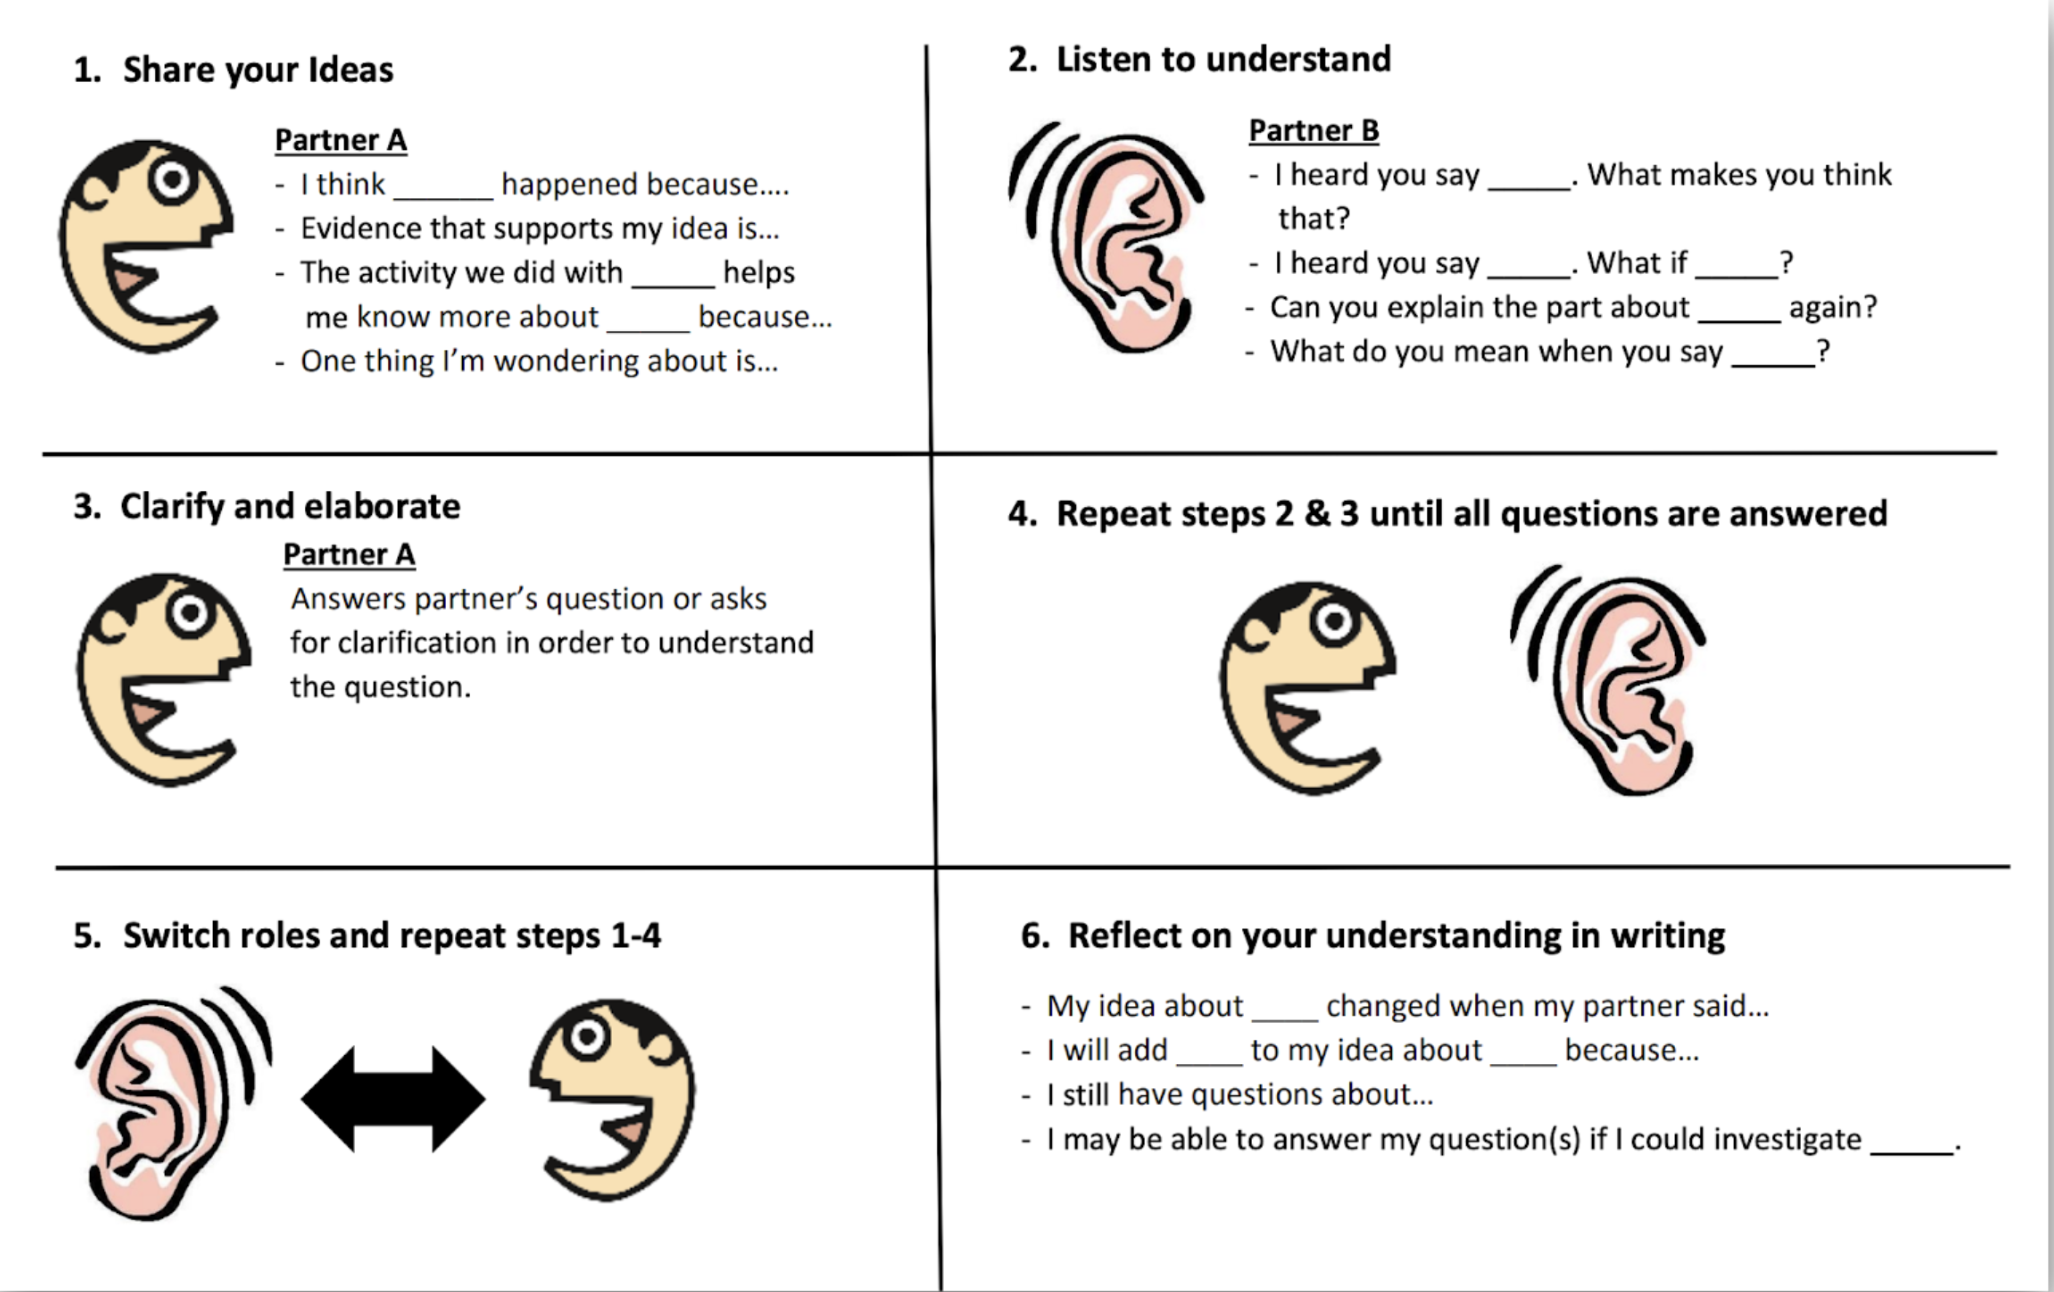
It is important during this step that you help students to have meaningful conversations by providing and teaching productive talk strategies. As an example, the A/B Partner protocol is given to students on a piece of tag paper folded into a tent. That way both partners can see the same prompts and they can follow along. Sentence stems are provided to help students get started. Partner A starts with a statement and backs it up with evidence. Partner B then responds by repeating what they heard and following up with a question. Partner A responds to that question and this continues until all questions are answered. Once Partner B has finished with questions, the roles are switched.
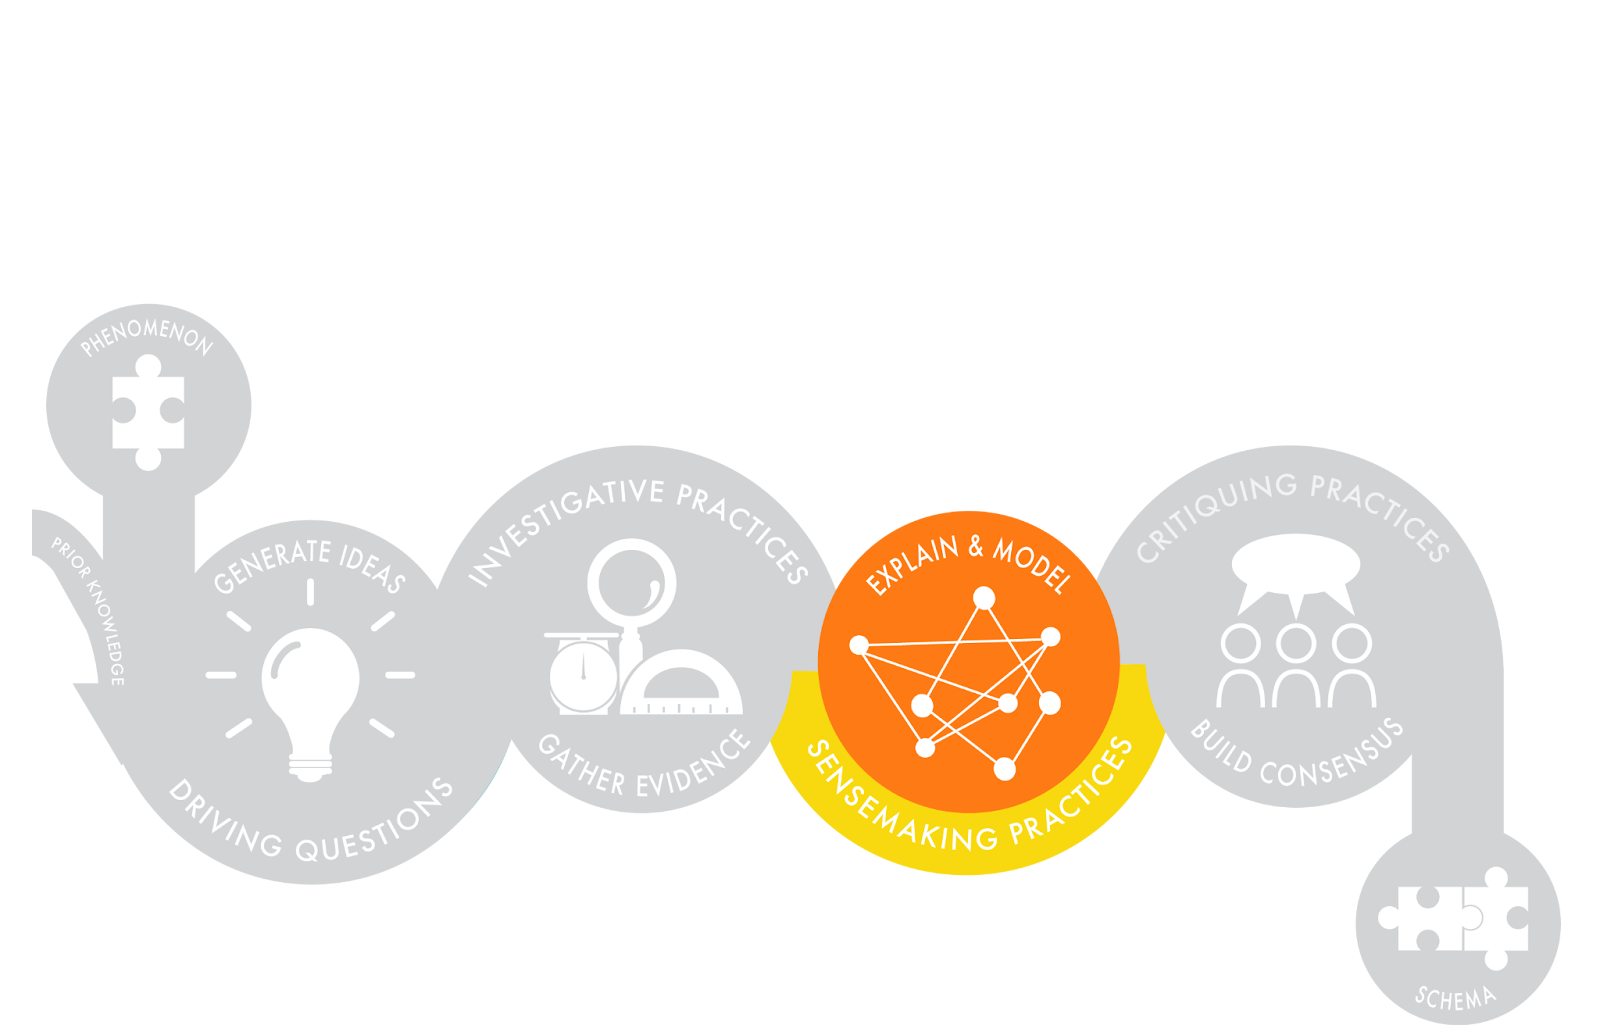
Once you feel that you have enough evidence, you will move on to revising your initial model or to Arguing from Evidence. This is part 3 of sensemaking, Explaining and Modeling.
This can be a difficult transition as you move from prescribed labs, you may want to attempt this using a pre-made open access unit such as one from iHub or OpenSciEd.
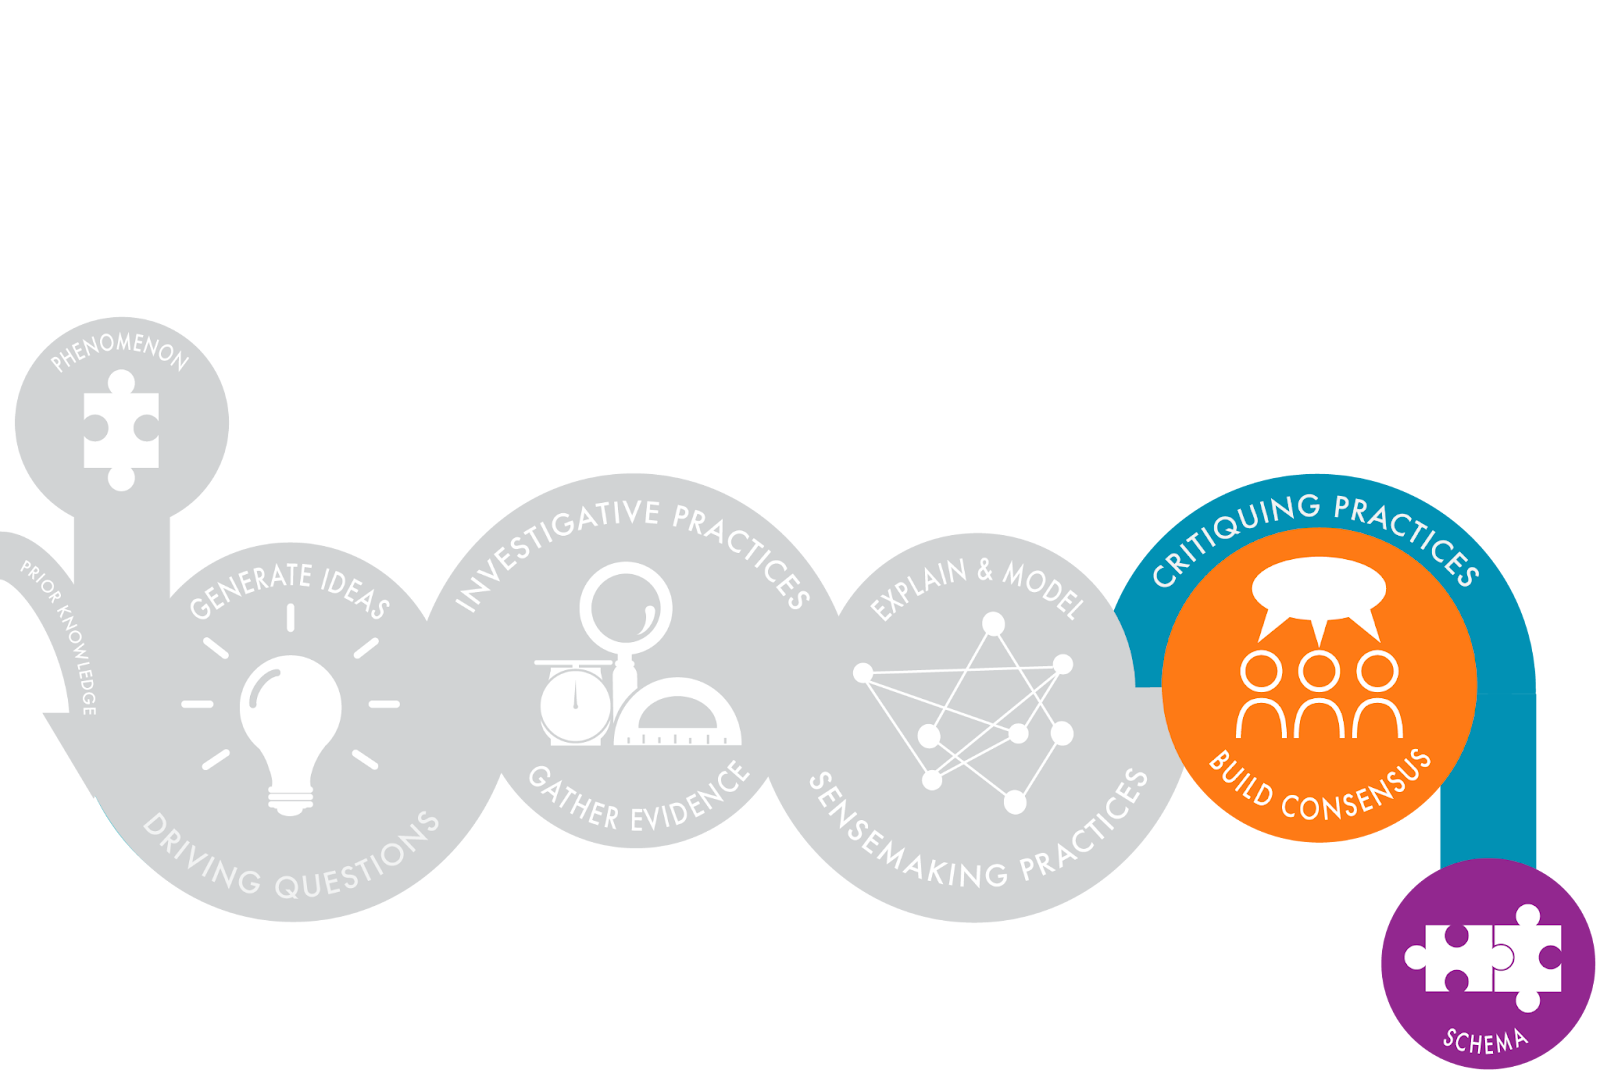
Scientists and engineers must be able to communicate clearly and persuasively the ideas and methods they generate. Critiquing and communicating ideas individually and in groups is a critical professional activity.
SEL: Building a classroom culture. Look at OpenSciEd for resources.
This is from OpenSciEd
Putting Pieces Together Routine
Using the Science Ideas We’ve Built So Far
In the Putting Pieces Together routine, students take the ideas they have developed across multiple lessons and figure out how they can be connected to account for the phenomenon the class is working on. In our science classroom resources, this routine serves to help students take stock of their learning and engage with the class to develop a consensus representation, explanation, or model to account for the target phenomenon (the phenomenon anchoring the unit or learning set).
The Putting Pieces Together routine is conducted at strategic moments when students have synthesized evidence from a range of situations to construct an important component of the explanatory model. This is often at the end of a lesson set and at the end of the unit.
Students typically represent their thinking through the following:
Pick one of the links from the more of less of table, how would this help you in your classroom?
What section of the above table will be the most challenging for you to change and what supports might you need?
Review your learning from the meal. What is one unit or lesson that you commit to moving toward sensemaking?
Write out at least three ideas and resources for how to shift your unit or lesson from the previous question to build it around sensemaking?
Teachers:
Are administrators making you put up lesson objectives that interfere with sensemaking? This STEM Teaching Tool can support your reasoning. Practice Brief 46: How to defining meaningful daily learning objectives for science